Showing posts with label floral design. Show all posts

Friday, 22 July 2022

Printing on textiles - summer course at NCAD part 2

I previously blogged about the Introduction to Printing on Textiles course that I did a few weeks ago here. This is the second part of that account of my adventures at NCAD. I was thinking about French painter, Henri Rousseau, when I was figuring out imagery for my linen napkins. Here is one of his most famous paintings, The Dream.


After seeing the heat press demonstrations with foliage, I had an idea that I wanted the linen napkins to have a lush foliage design and I kept thinking of Rousseau's work. Here is another of his paintings showing what was in my mind.


I started out thinking that I wanted an overall background colour of green, so painted a sheet of newsprint (with the special ink for the heat press) that was roughly the same size as the napkins.
 

I used the negatives from the Yupo paper to block out the wild rose, and various bits of foliage to block out areas that I did not want the overall colour to go on. The Yupo paper, which is synthetic, melted in the heat press! But I decided it was an unnecessary precaution anyway as the fuschi screenprint of the wild rose was a stronger colour than anything to overlay it. I also decided that I didn't really like the white foliage areas, even if I did like the foliage shapes.


So I painted some other greens on newsprint and ripped pieces to make a sort of collage of colour, including cut-out leaf shapes and real foliage.


This random collage and colour was more satisfactory to my sensibility and my plans were then to just keep layering as I went along.


The class was a small group, so by time my collage layer was ready, the heat-press was free and it was my turn to do another sixty second countdown.


Up until it was time to clean up on the last day, I was working on my layers. I photographed the finished napkins on a bench outside the work room and the sun was absolutely streaming through the huge windows.


These pictures give some sense of the finished napkins. The colour seems fairly correct on the wild rose, but the individuality of all the foliage is easier to discern in real life.


As well as Rousseau for the foliage, I think I was also channeling Botticelli's Birth of Venus by having the silkscreened goddesses emerge from the wild rose. It was an intense, productive and fun week learning this process!

Wednesday, 13 July 2022

Printing on textiles - summer course at NCAD part 1

A couple of weeks ago I attended the Introduction to Printing on Textiles week-long summer course at the National College of Art & Design (NCAD) in Dublin. The experienced, patient, wonderful and lovely tutor was artist Mel Bradley. On the first day she introduced the small class to heat press printing on synthetic fabrics so that we could gain some understanding of the possibilities of this process. The day was one of experimentation and fun!


On the second day Mel gave some demonstrations of silk-screening on fabric and how to create our own stencil designs using newsprint and/or Yupo paper (a more robust synthetic paper).


Mel's demonstrations, of course, made everything look so easy, but she was also using very simple techniques and basic shapes to prove that designs did not need to be complicated to be beautiful.


When I got to the class on Tuesday morning, Mel and her assistant, TrĂ­ona, were preparing workboards for everyone, which was soft on one side and covered with wipeable oilcloth, and hard wood on the other side for cutting. This is my workboard in my workspace before I started working!


I cut out a basic wild rose stencil from Yupo paper to be my basic screen image. I had brought in six linen napkins that I wanted to refresh with textile design and I also brought in four tiny silkscreens of archaeological goddess images from different cultures (for instance, an image of the Venus of Willendorf and  an image of an ancient Egyptian Venus) that I had prepared many years ago.


This is the wild rose silkscreened onto the first linen napkin. As you can see, the cloth must be taped down to the soft part of the workboard before screening.


Here are two napkins with both the image of wild rose and goddesses screened on them, hanging on the wall to dry completely before I do anything else to them.


Midweek I brought a few acetate rose leaf stencils into the class thinking I might use them. My husband had made these stencils when he was painting his suit jacket for our wedding in 1995. Here I used a hard round brush to stipple ink onto the linen through the stencil, but decided this process took too long and it wasn't actually what I had in mind for the napkins. Though I knew already that the heat press process and inks would not be as intense on natural fibres (such as linen) I decided that it was this process that I was most interested in and planned to spend the last two days with working on foliage to get all six napkins completed by the end of the course. I'll continue with the results on the next blog!

Wednesday, 15 July 2020

tulip vase

As I realised my time at the ceramics workshops at Signal Arts Centre was coming to an end (I have many other projects that are now taking priority attention, although I foresee returning to ceramics sometime in the future), there was still the matter of the disastrous vase I glaze-painted three years ago. I described full details of this spectacular failure here. However, the vase was sanded and scoured and sitting in a corner periodically beckoning to me. Luckily I actually did return to it in February and worked on re-glazepainting before lockdown.


I still wanted to glaze the vase using the original tulip design, and I still have that design as I had been using it as reference for the tulip patterns on my terracotta dinnerware set (I blogged about the bowls 
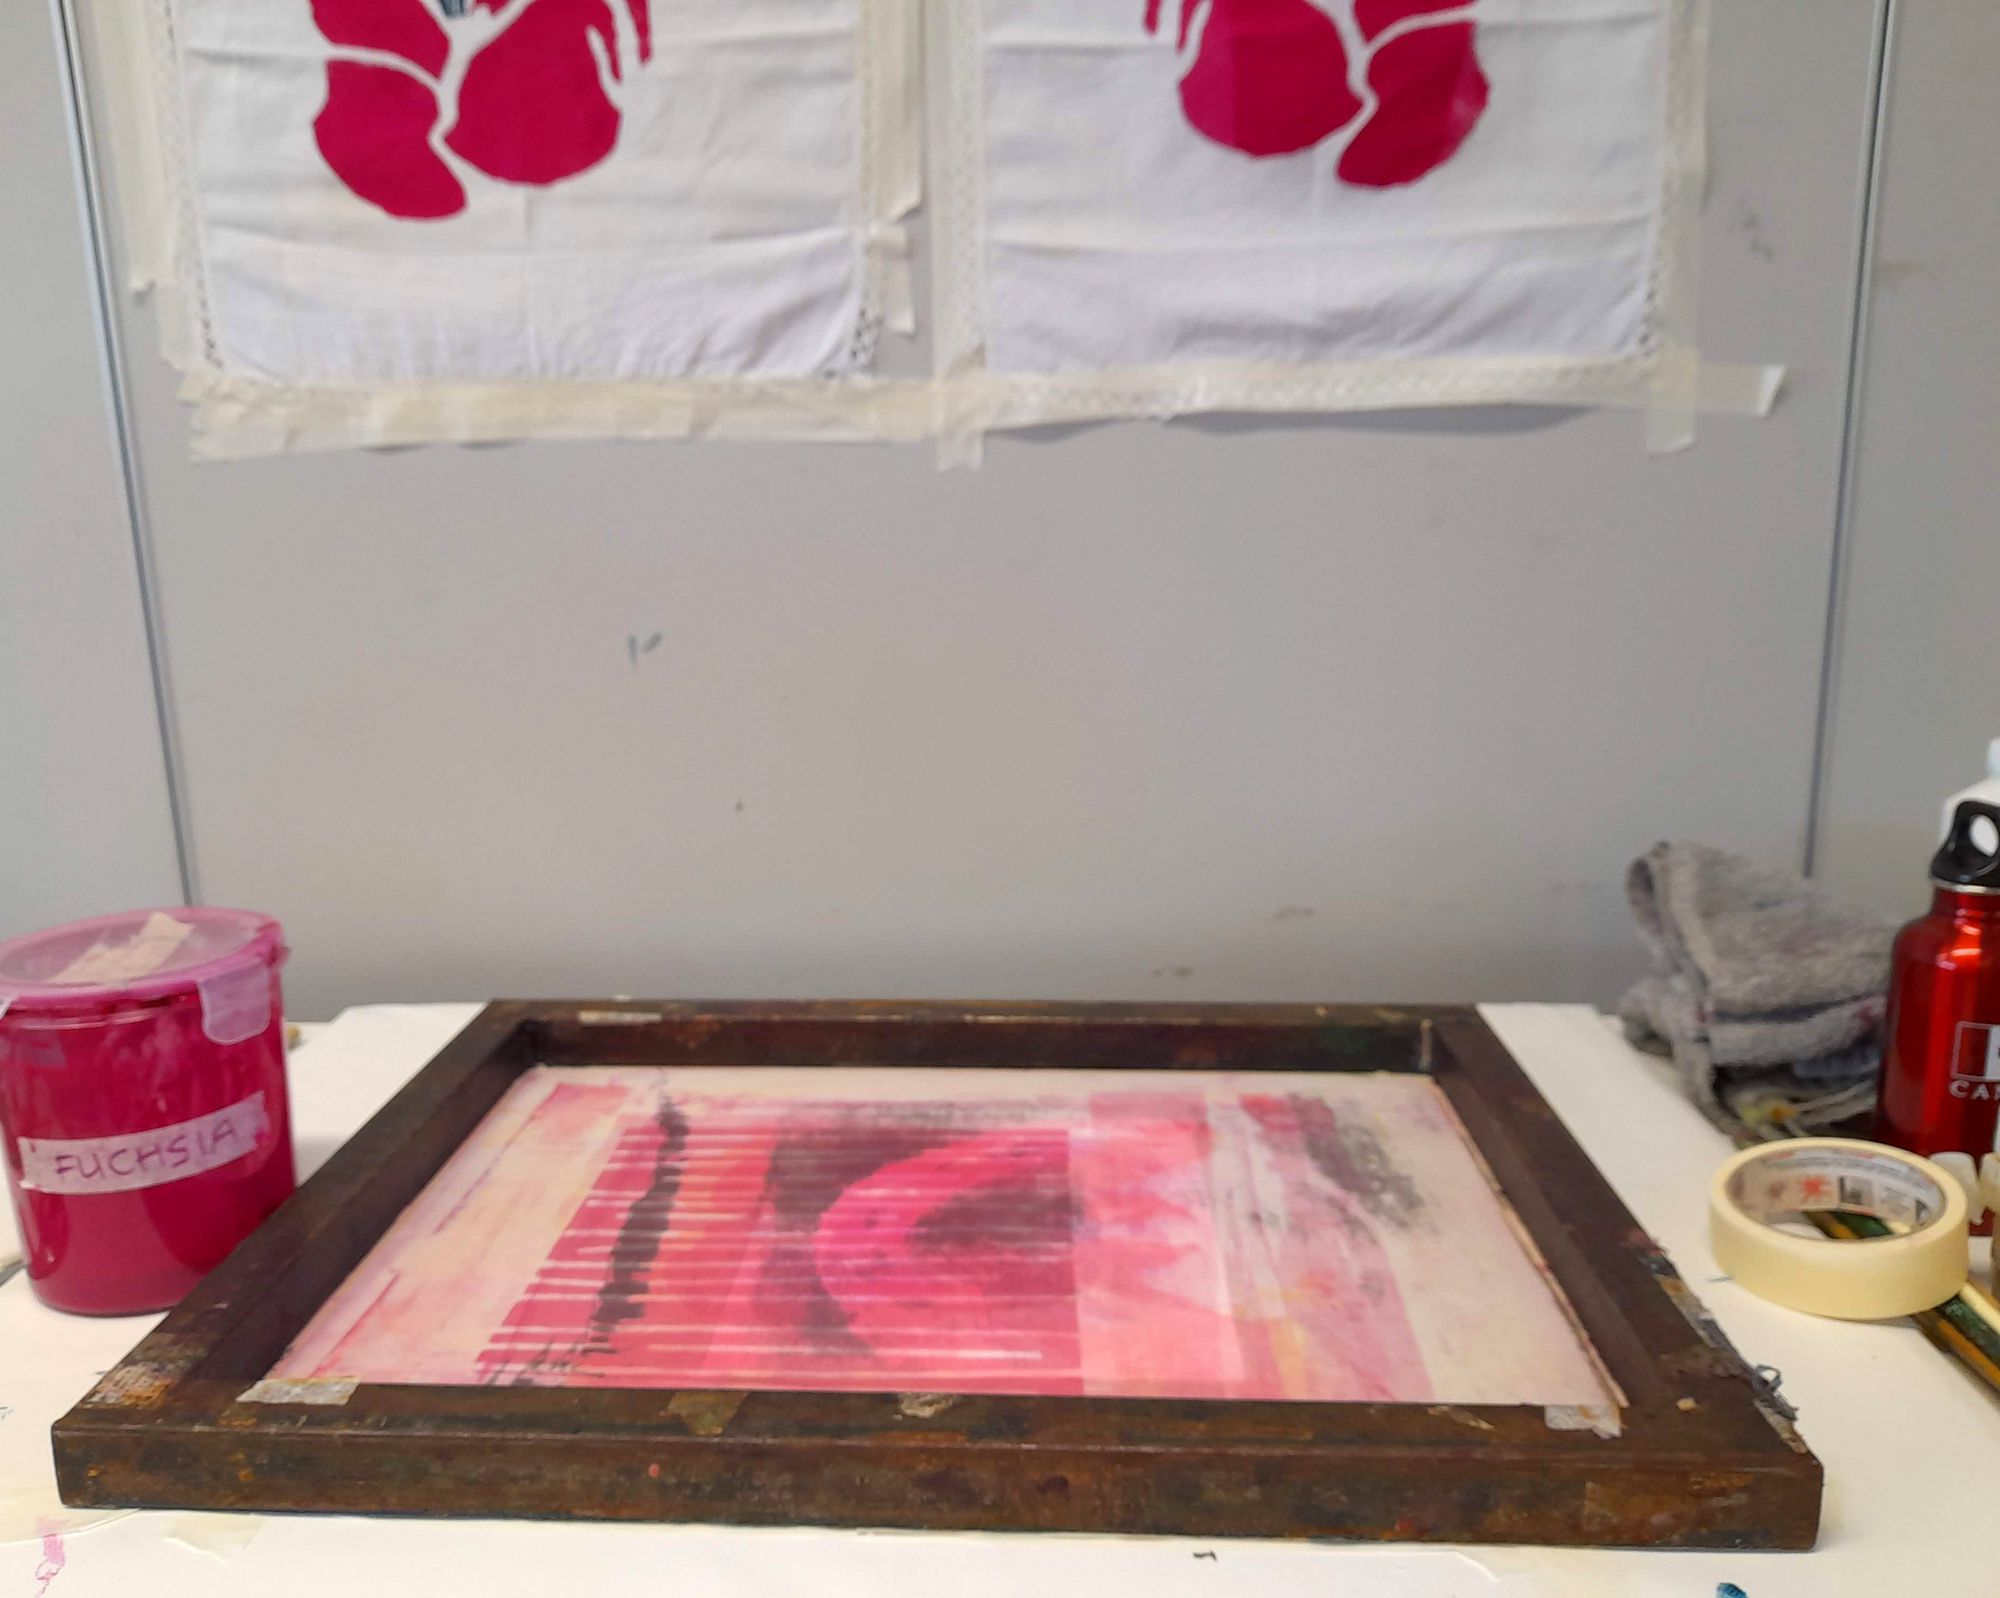
here, and that post contains all the links to other parts of the set). I simply applied graphite to the reverse side of the design and traced the floral outlines,


transferring the pattern to the vase.


Then I began, colour by colour, to paint in the design with glaze.


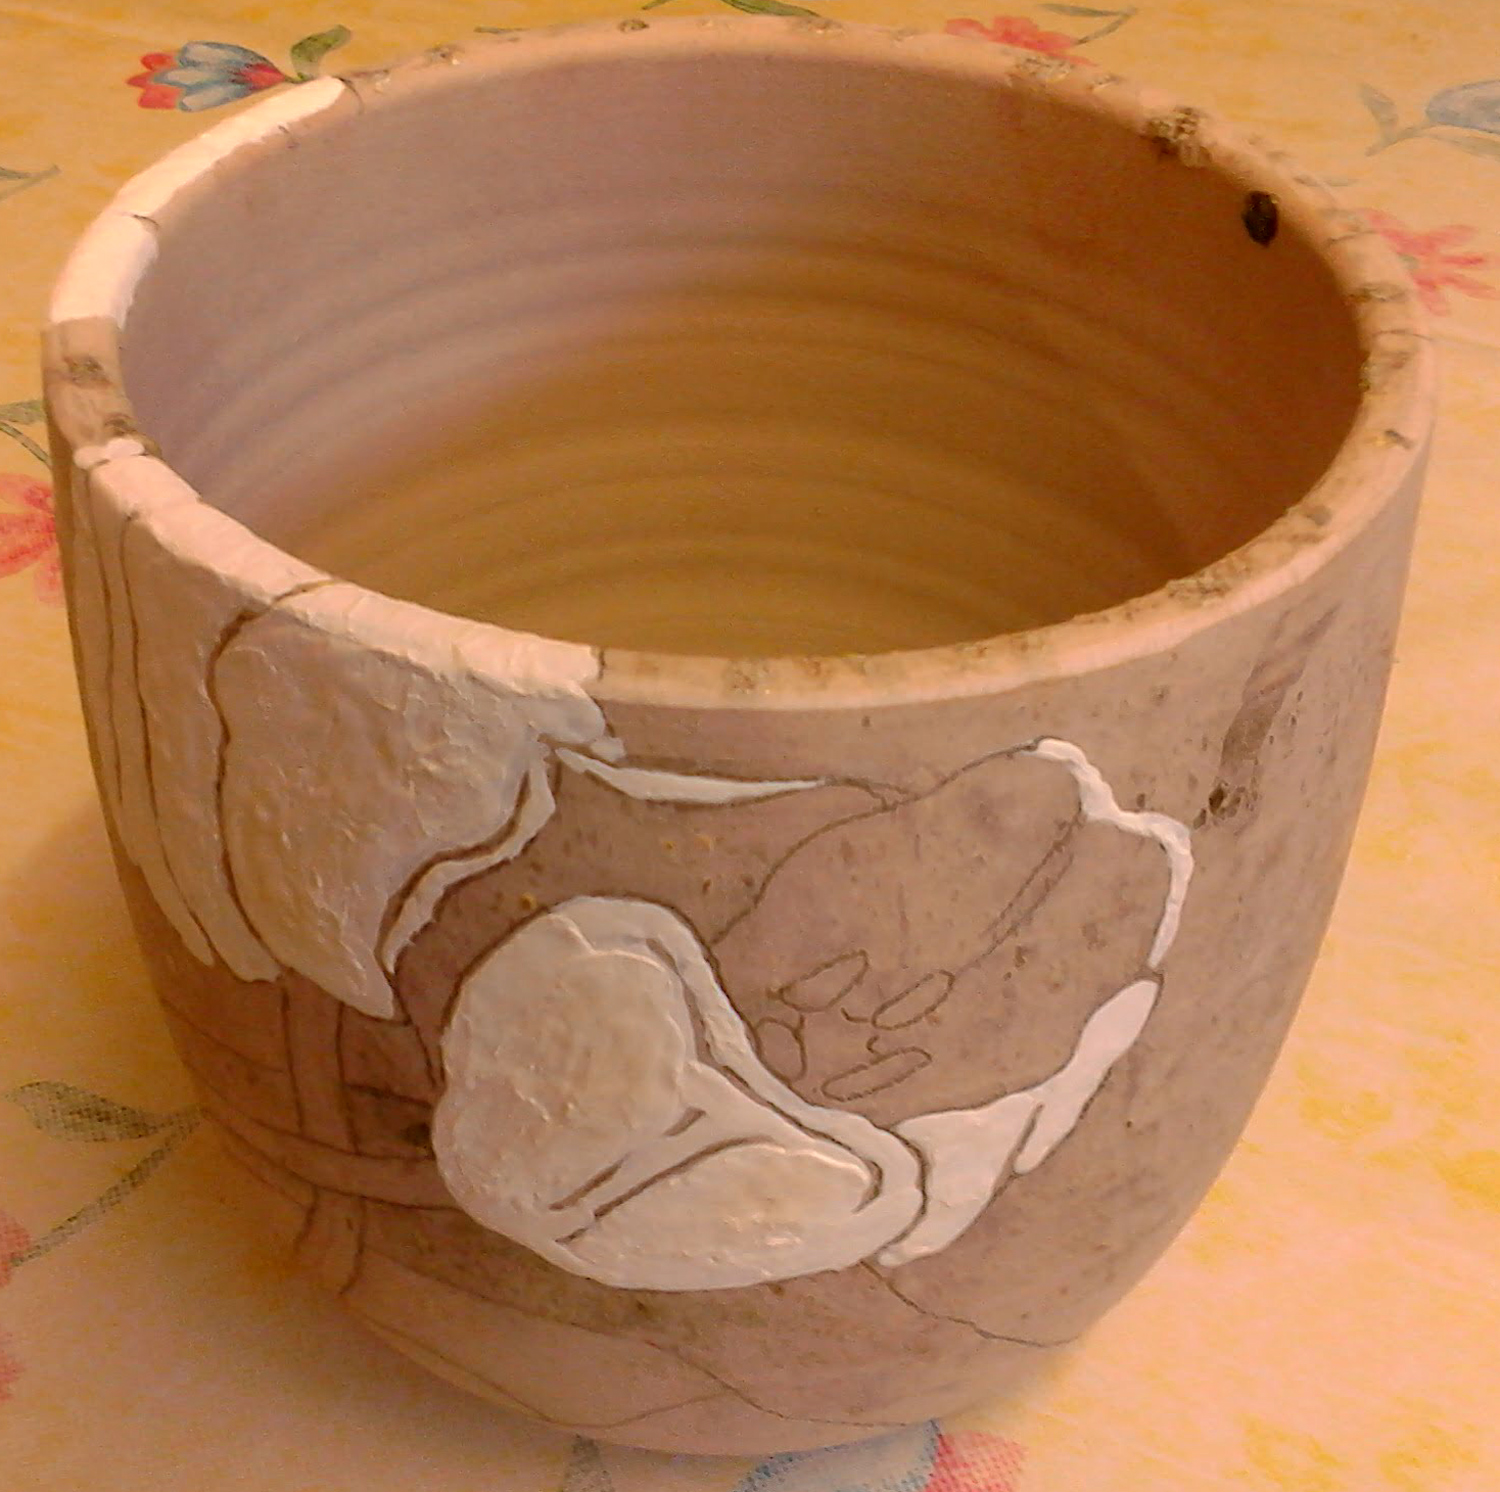
As can be seen here, it wasn't possible to remove all the debris from the initial disaster, so I resolved to simply take the chance on re-glazing and see if these blemishes added an interesting effect to the final vase.


The underlying vase is a pale colour but I decided NOT to glaze paint any outlines on the design this time round. Though the lines between colours appear quite strong in this picture, I expected that it would be more subtle in the firing.


After the disaster of three years ago, I liked the look of the melted blue glass so did not have it removed with the other detritus. I hoped the second attempt at firing the vase would not be unkind to this effect.


I was pleased with the final results.


Signs of the first firing are random and not particularly intrusive (for instance the interior spot visible on the right side in this picture) .


Another view of the fired vase.


This view shows that the stained glass was happy enough with the second firing, showing off it's mix of several colours of blue.


Wednesday, 11 September 2019

Tulip bowls

In previous blogs I have described the making of bowls and plates through handbuilding, rather than throwing on the wheel. One of my main projects this year, in the ceramics workshop, is to create a dinnerware set. Details of the large and small plates of the dinnerware set can be found here, here, here, and here. Here are two of the bowls for the set after I put the feet on them, using two thin semi-circular slabs.


When the four bowls (it is a quartet tableware set) came out of the bisque fire, I drew the tulip designs directly on them with a pencil. I talk about the bowls and my plans for glazing here.


I started with glaze painting the flowers - two different colours of yellow.


I glaze painted the leaves and stems with "tropic green" a speckly green that I particularly like, but I painted a coat of "apple green" over the stems as I wanted them to vary from the leaves, but still have that nice speckle.


Since a glaze fire was announced, I worked at getting one bowl completely glazed. The background and inside of the bowl are glazed with the same "speckled turquoise" that are on the plates.


I was very happy with the firing results of the bowl! I found out that the tropic green is one of the runnier glazes and really liked that gravity pulled it down a bit to accentuate the terracotta lines. I also enjoy the random dripping into the stem from the leaves.


Here is another view of the first finished tulip bowl. The "speckled turquoise" is a consistently beautiful colour and the interior of the bowl is very smooth.


Another view of the finished bowl! Once I finish glazing the other three bowls, I will start work on 4 mugs to complete the dinnerware set.


Wednesday, 19 June 2019

ceramic handbuilt bowls

I made four bowls to go with my tulip dinnerware set, which can be seen in progress and finished here, here, here and here. A medium-size pudding bowl was used as a former (lined with cling film of course!).


You can see the feet on the bowls are made by two half-moon, measured slab pieces similar to the feet on the small plates in the set. They were affixed when the bowls were leather hard, in the usual manner of scoring and slipping.


I drew tulip designs on each bowl's exterior. I think the interiors will be the solid speckled turquoise glaze that I used for the background on the plates (so they will also connect with the backgrounds on the bowl exteriors). The speckled turquoise glaze has a bit of a rough texture, though, so I will also do a top coat of clear glaze to hopefully smooth it out.


A glaze firing was going to be put on, so I shelved these bowls, knowing that the glaze-painting of the designs would take a bit more time than I had. I quickly glazed a smaller, simpler bowl so it would go in that firing.


This turned out to be a good plan! Using only two glazes - fire engine red for the interior and rose gold for the exterior - my small terracotta bowl turned out quite lovely. I call it Libation Bowl. Though I am sure this is suitable for blood sacrifices, it will probably get most use as a peanut bowl. 


Wednesday, 8 May 2019

Handbuilt tableware set, ps - part 4 of 3...

This is the last of the four large terracotta plates for the tableware set, it didn't make it into the previous glaze firing. One thing I realised when the others came out was that I had to apply a clear glaze on the lines between colours. The raw terracotta lines looked great but would not be useful if I was going to use the plates for dinnerware, which I am! So with the already fired plates, I just had to apply some clear glaze and re-fire. With this plate I could apply the clear glaze before going into the kiln, thereby doing the glazing in one step (as it should be).


Wednesday, 1 May 2019

Handbuiilt tableware set, part 3 of 3

I was delighted when the first five plates came out of the glaze fire.  


The colours of the glazes were as I had hoped and planned. The lighting with my husband's camera is very true (he is the workshop facilitator and always takes pictures of each kiln shelf as he unloads a firing).


Though there is a yellow tinge to pictures taken with my camera phone, the closeups show the linework


and glaze textures on the plates.


These closeups also show the individual designs of each plate and the different lighting


makes it apparent that there is also a texture on the plates, from the initial rolling of the terracotta.


The clay was rolled out between two cotton cloths with a herringbone pattern, and though this is subtle, it is quite lovely.