Showing posts with label pasta machine printer. Show all posts

Wednesday, 6 December 2017

Stones - a stick book!

My original idea was that the book Stones would be a created as a stick book, companion piece to Sticks. I talk about the two books in a previous blog, along with showing simplified templates for both. In order to put Stones together I worked methodically: I scored the Khadi paper prior to printing and scored the Fabriano endpapers. The covers were made of a heavy duty, acid free blotting paper; only the front cover needed to be scored to facilitate folding when opening the finished book. 


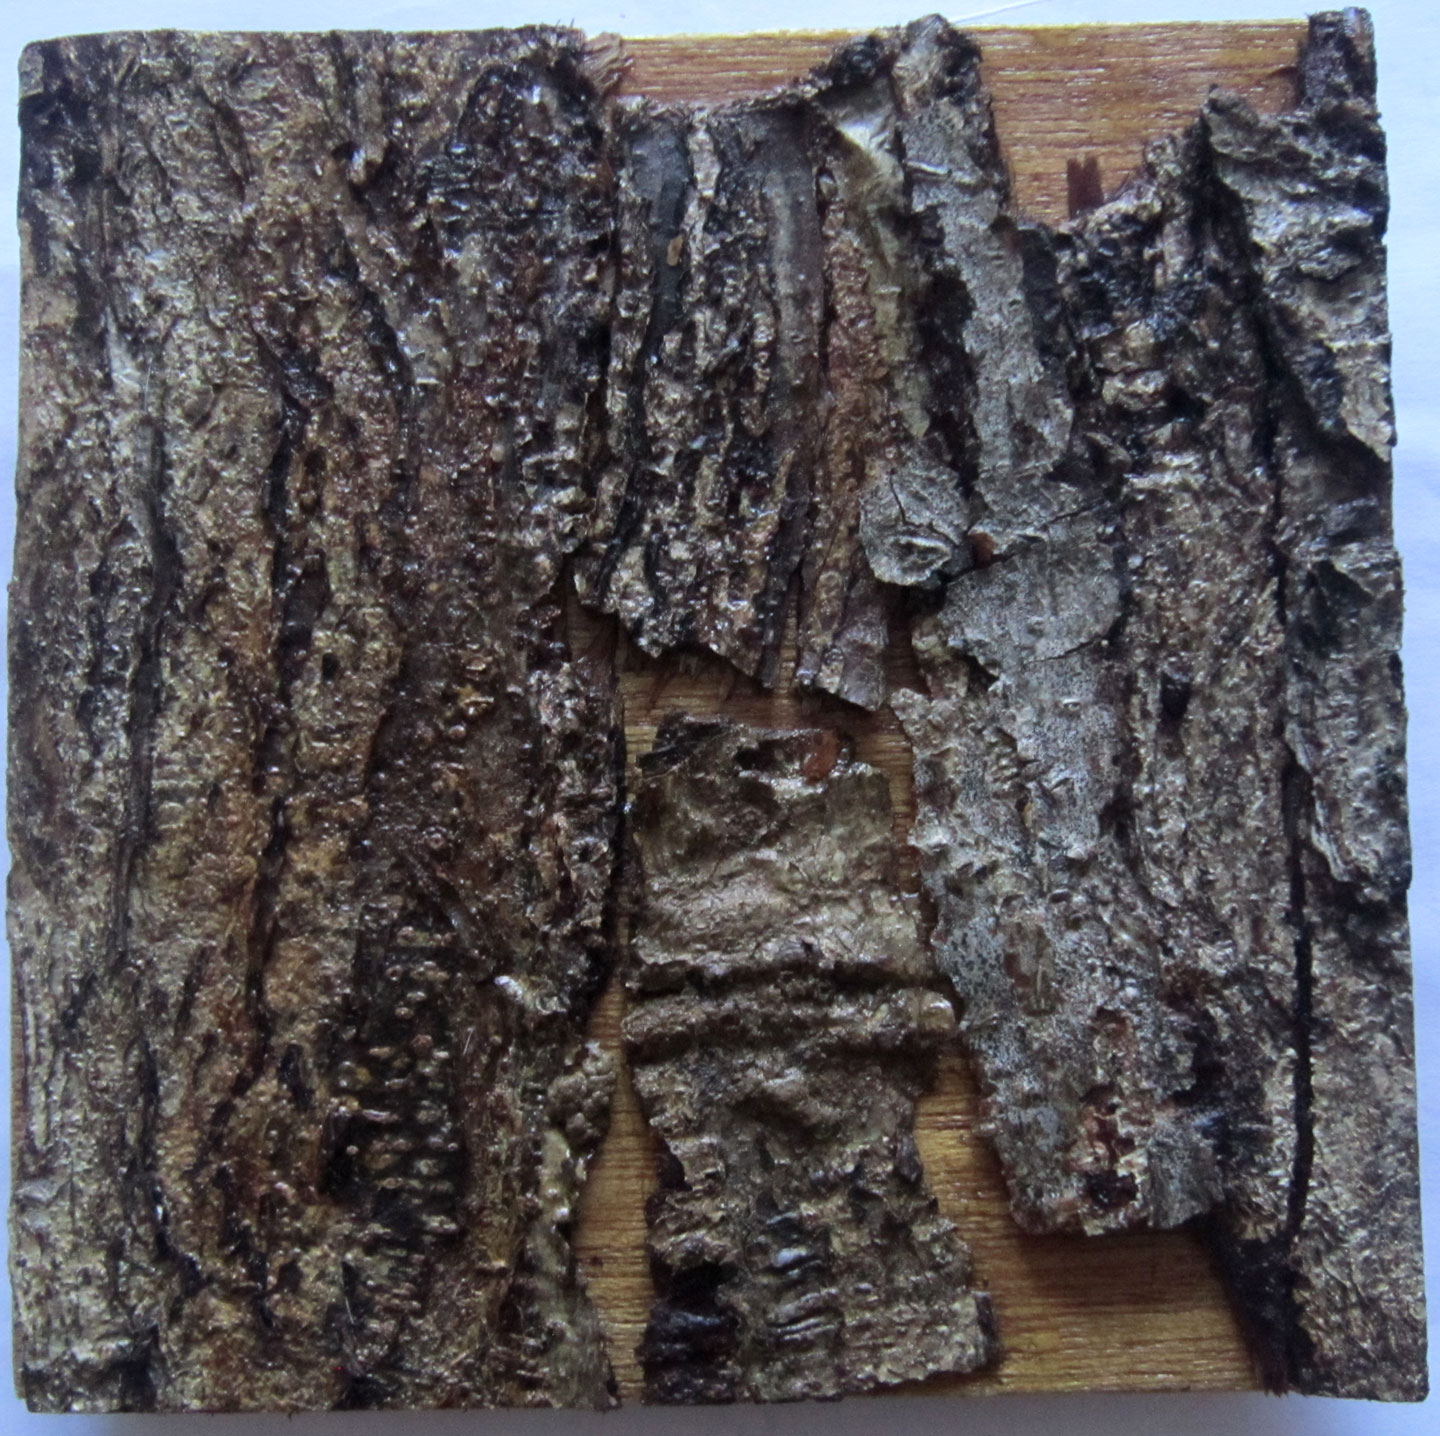
Stones is a book of five intaglio prints based on pebbles at the seaside. The intaglio is done on 800 micron acetate plates and I printed the plates using my pasta press. I have given extensive details on how to convert a pasta machine into a miniature flatbed printer here.


After all prints were created, I decided on the page order. This is the first printed page.


Page 2.

Page 3.

Page 4.


Page 5.


Page six is an information page (signature, title, edition number, date). The pages were sandwiched between the endpapers and then wrapped with the blotting paper cover. I used a page of white paper, some corrugated cardboard and a lion clip to hold everything in place while binding holes were created using a drill press.


Stick binding is a variation of Japanese stab binding (instructions here). The stick, however, allows the binding thread to pass through the same hole consecutively, without unravelling. Although I originally planned to use real sticks, I was hit by a bolt of lightening and decided to create my own sticks in the ceramic workshop I am taking weekly. I simply rolled out some coils, hand-formed end bits, and used a real twig to press in some texture. Because of the colour of my prints (various mixes of Permanent Green, Payne's Grey, and Cobalt Blue) I chose a slate blue glaze for the sticks. I matched this colour to the six strand cotton embroidery thread I used for binding.


I started binding at the top, back to front and around the top of the stick then down to the next hole, and so on. This process was repeated going back up the book, tying several knots at the top back and trimming to the desired length. This is the back of the book.


Here are several of the bound books, showing the slight variation in the ceramic sticks.


I was very pleased with the finished books. Stones is in an edition of ten books.


Wednesday, 8 November 2017

Sticks - accordion book

I conceived of "Sticks" as a simple accordion book for a single, long format intaglio print with ceramic covers. The print is a horizontal image of sticks based on some sketches I had done of wood debris floating in the Glencullen River in Knocksink Wood.


I had created a unique protype, "Shinrinyoku", of this image as an accordion book in June. I made the prototype to figure out how an accordion book could work, using handmade paper for the drawing and for the covers.


Because I wanted the front cover of the "Sticks" book to have some relationship to the future intaglio print, I created a bark stamp that could be pressed into the clay slabs that would be my book's front covers


The stamp itself was simply made from some scrap wood and the bark affixed to the front of the stamp with pva glue.


Although I coated the entire stamp to seal it, when using it on the clay it worked better to have a layer of cling film (Saran wrap) between the stamp and the clay slab. For the back covers, I simply used a rubber stamp kit to press my name in the clay slabs.


I was doing an edition of ten books, so needed 10 final intaglio prints of the image. I have detailed how I converted a pasta machine into a flatbed press in a previous blog (here). The small prints created using this press are only limited in size in one direction (in this case the length is shorter than the width). The prints are on Khadi 100% acid free handmade Indian rag paper.


When the prints were ready I did a general layout of how I would like the completely open book to appear, with both the front and back covers visible. This would give me an idea of how to fold the book.


Or rather, giving my trusty assistant the idea of how to make the folds (I fully recognise that my husband tends to measure more accurately than I!).


The prints were affixed to the background of Fabriano with pva, along the top only, prior to making the folds.


Components ready to be turned into books!


A view of the back of the accordion book.


A view of the front of "Sticks".


Wednesday, 1 November 2017

Ghost - accordion book

I conceived of the book Ghost as a complex accordion book vehicle for a series of  prints that utilised the blind embossing print technique (i.e., embossing with no ink or colour added). I have shown images of this technique and the prints on a previous blog a few weeks ago (Oct 4 2017) and full details of how to convert a pasta machine to a small printing press on Sept 20 2017. The main  thing was to methodically go through all the steps in creating the book once I had the prints done. I started with the cover, which is made from heavy weight 100% acid free blotting paper with the title stitched using white embroidery thread (6 strand cotton).


After designing the lettering I used a heavy card template, first poking the holes in it, and then poking through those holes to the blotting paper cover below. Pre-holing the covers made for easy stitching.


Here are several of the covers prior to stitching.


As there were five prints to accommodate, my book required a long background page for folding. I realised I needed to glue two pieces of the Fabriano paper together to create the required length.


Lots of measuring and use of my trusty bone folder!


An accordion page.


I made a clear general layout before going near any pva glue!


I had already glued (pva) squares of thin acid free paper to the front and back covers and weighted them overnight so that they were affixed firmly. I wasn't taking any chances with trying to glue my accordion page to blotting paper covers. The half ends of the accordion page were firmly affixed to the covers via the paper already on the cover.


The Fabriano paper has a front and a back, so where the company sticker was already on the back I left it and marked other pages lightly with a soft pencil. When the book was complete I removed all stickers and gently erased all markings.


Here the books are all together, with the blind embossed prints waiting to be affixed to their ordered part of the accordion.


The finished book with all the prints affixed to their pages.


Wednesday, 4 October 2017

Blind embossing


 I had an idea for a handmade book, "Ghost", where the images would be blind emossed prints. These would be small prints, facilitated by my pasta machine press. The plates are 800 micron acetate, each plate being a tiny 9 cm square. The printed pages are a whopping 12.5 x 15 cm, and they will be affixed to an accordion book 16.5 cm vertically; the covers are 17 cm square. All these figures are important and should be worked out in advance, when creating a book, so that finally putting it all together goes smoothly.

I had an idea of the images I would use, a hand as a metonym for the whole body. I had not done blind embossing on my pasta press before, so I began by testing some materials. Below is an image cut from oilcloth, using the smooth side up.


 I also tried the heaviest grade of sandpaper I could find.


This is the same sandpaper grade as above, but is the environment around the image.


 I did some tests on Fabriano paper. The heaviest grade sandpaper was very difficult to work with.


Although I liked the embossed imprint of the heavy grade sandpaper, I had to fight with my press to get the print! When embossing a thin tissue is placed over the plate so that the paper stays clean, yet I was finding that the tissue was becoming embedded in the print, and could not even be removed when dry.

I tried using completely dry paper, and even though I had some good results, I still had to fight with my press to get a print. So I abandoned the idea of using the heaviest sandpaper grade for my plates.


I also started using oilcloth in lieu of felts with my prints, as it is thin, yet has more weight to it than the thin felt I was using.


Here is a another sample of a plate with heavy grade sandpaper. Though not as heavy as the black sandpaper, there were still some difficulties with the prints.


I had decided I would probably use two hands in each image, the final image (of five) being two hands together emulating a bird in flight. The plate below shows the reverse side of oilcloth, which has a textured pattern.


Still using thin Fabriano for tests, I wanted to see how the oilcloth faired under the press. I was surprised that the pasta machine was sensitive enough to pick up the area where the two hands met. For the oilcloth tests I used two layers of oilcloth in lieu of felts. One must remember to have the smooth side of the oilcloth lying next to the paper, so as not to have any additional unplanned embossing.


My final tests were on the Khadi Indian rag handmade paper. The prints are subtle, but this is in keeping with the point of my book "Ghost".


 My final decision was to use the same grade of sandpaper for all five images, representing the environment rather than the hands.


The last step was printing out each plate. The book will be in an edition of ten, so I needed ten prints for each plate. I finished all the printing last week, and now I am working on putting the books together.


Wednesday, 20 September 2017

Pasta Machine Press - flatbed printer!

I had been using my pasta machine press successfully with monoprints in 2016, but after taking a print workshop in the spring of this year at the National Print Museum Dublin, my husband suggested it might be easier if I did some further adjustments on the pasta machine to turn it into a flatbed printer. This is the happy result, and below I will give some steps to converting a pasta machine into a small press!


My pasta machine had a base that was just screwed on, so it was easily removed.


 I planned to do some long prints, with the pasta machine on the kitchen table, so this was taken into account when creating a box structure that the machine could sit in. A box structure is required also to facilitate additional clamping to the table the press will rest on. This is a view of the finished flatbed printer including the 800 micron acetate which serves as a flatbed. Please note that the acetate is not affixed.


A bespoke groove is made into the top side of the box in order to facilitate the pasta machine.


This is the view from the right side of the machine, resting in the box structure. The hole on the side is where the crank fits in, so this side must be on the edge of the table.


This view primarily shows how the left side of the pasta machine is clamped to the wooden structure.


This is the press and structure turned on its side so that the under structure can be seen. The press is clamped to the structure.


This is a view from directly underneath the pasta machine.


A view from underneath; at either end there is a small plank of wood affixed to the structure to accommodate further clamps needed for affixing the structure to the table. At first I did not attach the structure to the table, but doing so saved me from having to press down on the machine while printing.


This picture is a side view that shows how the structure is attached to the table by a clamp.


This is a further detail view of the clamp attaching the slat on the structure to the table.


 This is a side view that shows how the 800 micron acetate serves as a flatbed.


I have found that oilcloth makes a good substitute for felt. It is cheap, has a heavier weight for its thin-ness than felt, and is more useful for me, in that I have been doing long prints and needed an unavailable size felt (two pieces of felt left a seam mark in my print!). Be sure to print smooth side up when using oilcloth to avoid any texture inadvertently appearing on your print.


I have tried to make these instructions as simple as possible, but please comment or message me if something is unclear. I have been doing intaglio prints and embossed prints using this machine, so it is working!