Wednesday 29 April 2020

making zines!

I follow Austin Kleon on Instagram and he has been posting loads of little zines during the lockdown. He normally makes these as loving notes to include in his young son's lunchbox. Recently he has included little videos showing how he makes the zines. You can see his instructions here. Easy enough, with no glue and not even a scissors to cut the part that needs to be cut (just carefully tear along a crease) though a bone folder is an invaluable tool. I tried some zines myself, using images of maps from an Aramco World calendar that I didn't just want to bin - the maps are too interesting!


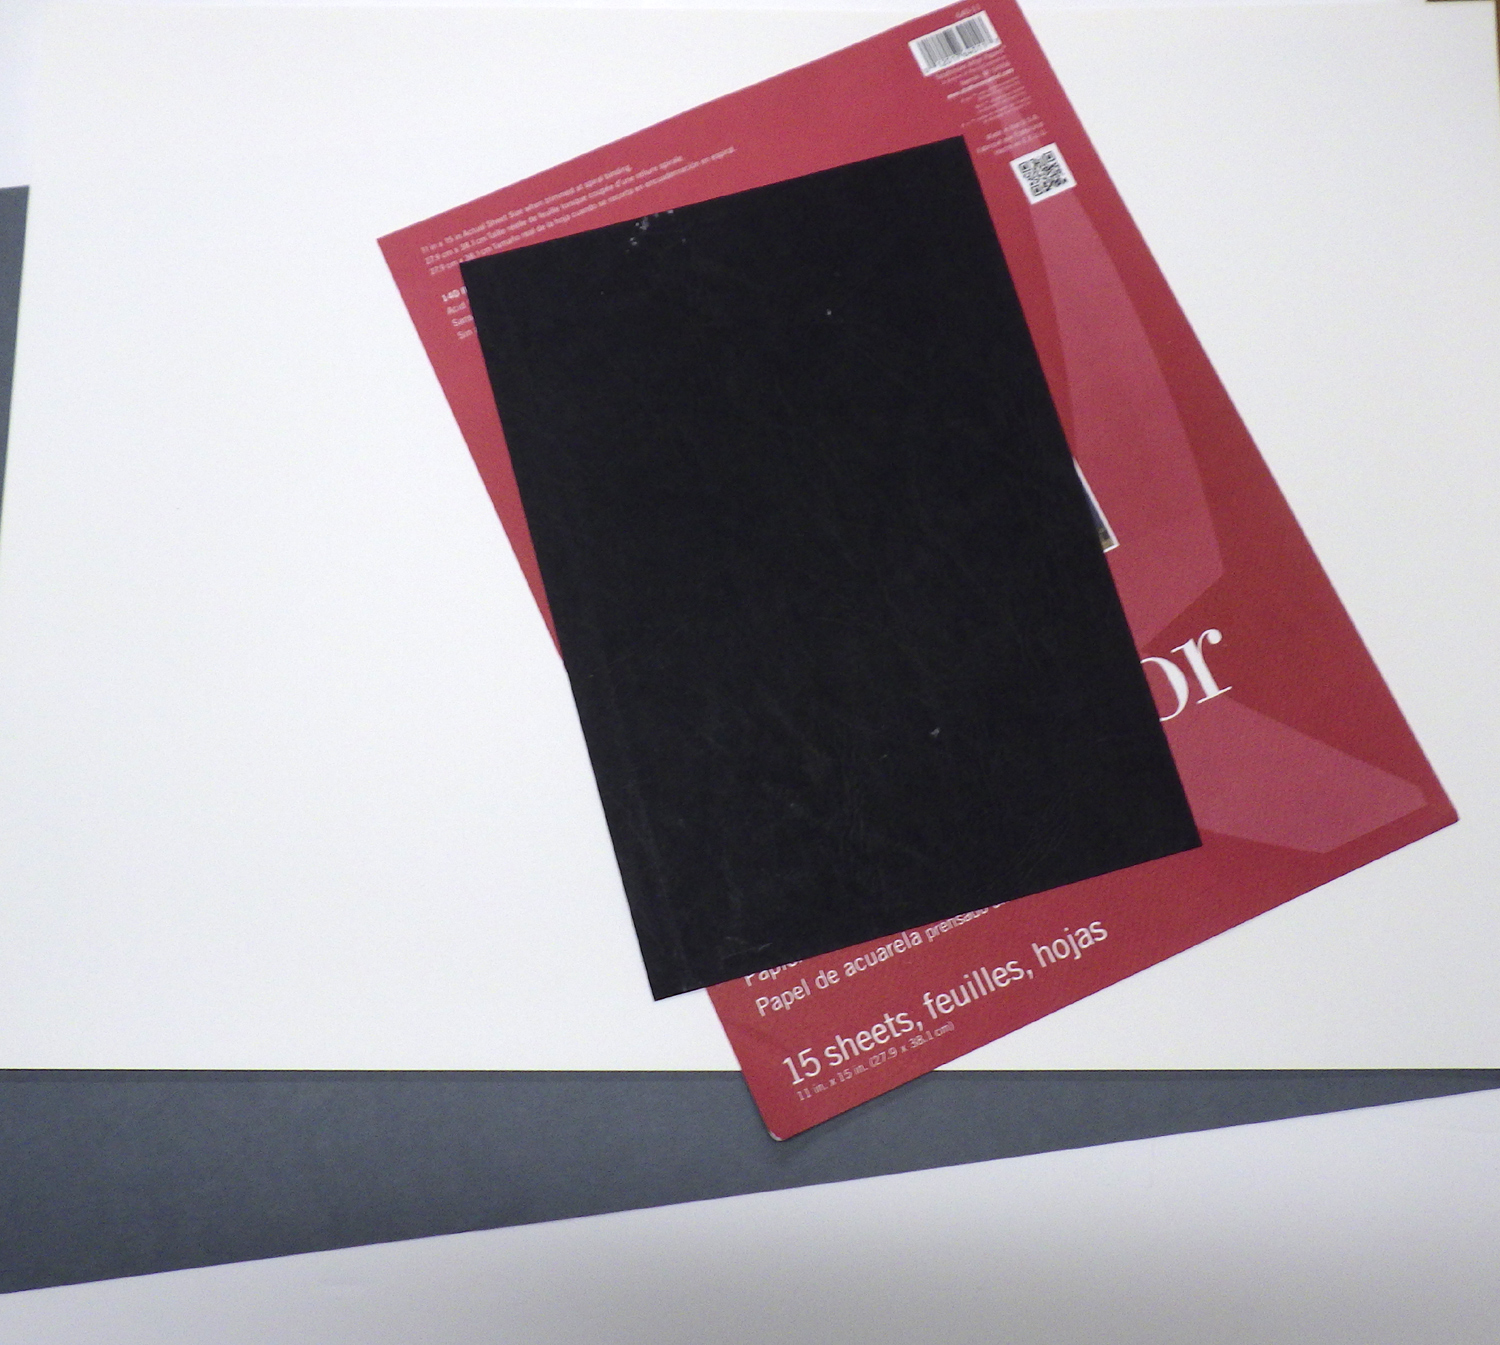
Although using a standard size (letter or A3 page) allows for easy reproduction of a zine, I wondered how the method would translate to larger and heavier pieces of paper. I decided to find out and pulled out some paper samples to turn into large zines.


The heavy pages are definitely harder to fold than the photocopy or typing paper... First fold in half.


Then fold in half again.


The third folding in half is even a challenge for the bone folder and the edges do not stay uniform.


Unfold back to the first folding so that centre creases are visible. The crease on the lower fold (if you consider that the upper part is open, as is obvious here with one of the calendar page zines).


With the heavier papers I took out my matte knife as I knew some cutting would be necessary, rather than simple tearing.


Unfold the whole page and the cuts are in the centre. It is easy to unfold and this is very useful if you are going to photocopy your finished zine. I was also curious about more formats for zines, again made from 1 initial standard sheet of paper that is easily reproducable, and found several youtube videos for making an 8 page and a 14 page zine, courtesy of autumnthing.


Pick the page up and push the ends together so that a central square is automatically formed.


Continued pushing will bring the "squared" pages together and voilĂ , your zine is ready to become whatever you want! With heavy paper you may need to crease the folds again with the bone folder.


Wednesday 22 April 2020

wild garlic chutney

Normally at this time of year I am doing lots of shinrinyoku in Knocksink Woods, near Enniskerry, having a heyday picking wild garlic which grows in abundance as floorcover in the woods. However, this year, the woods are beyond the 2 km limit. Luckily we have been "cultivating" wild garlic below our fuschia hedge, and so there is a small amount to make things with.


This year, one of my nieces sent me a recipe for wild garlic chutney, so I thought I would try it. I did make a few changes to the recipe and it was delicious, so that is the recipe I'll share. First things first, the recipe called for 100g wild garlic leaves. I was surprised at how much this was - about 40-50 leaves. But the recipe asks for you to wilt the leaves (pour some boiling water over them for a couple of seconds) and then refresh in cold water, so this definitely shrinks the volume down. I am not sure what the point of this is, because I don't do it when making pesto and I don't have any problem with leaves being too fibrous to digest (this was the only reason I could imagine...).


Other ingredients: coriander 25g, juice of 2 limes, 3 green apples (peeled & cored), 1 tsp brown sugar, 2 dried hot peppers (use scissors to cut), and fresh ginger (as if making tea for 2).


Whizz all the ingredients together in a food processor. It is delicious eaten with crackers and cheese, or with anything else that you would eat a chutney with -- halloumi, potatoes, naan bread... I think next time I make it I would only use juice of 1 lime and perhaps only one hot pepper. I have not tried freezing it as the batch wasn't that big (and I gifted some away), but I can imagine that it could be frozen for future use.


Wednesday 15 April 2020

collage cards

Before nearly every special occasion (holiday, birthday, anniversary) I get out my materials for making cards and work away. I have previously blogged about collage cards here and here.While I use print and drawing media in cardmaking, I tend to make collages most frequently. I do not cut paper, I carefull rip shapes from it and only use a steel edge ruler for helping to tear straignt edges, such as when I want a coloured background or in landscape images. While liquid glue and an old credit card are good for spreading, a glue stick is the most convenient.


The detritus in the picture above was caused from tearing egg shapes from patterned wrapping paper. I always save scraps of different papers if I can imagine them being repurposed at a later date, and this is a good example of that.


Often cards are related to artwork I am going to make or have already made. This 1988 St Patrick's Day card (made for my "new" boyfriend - now my husband!) refers to a dream I had in the early '80s and subsequent artwork, Ocean of Life. I had also studied the poetry of Wallace Stevens in 1986 and adored the poem Our Stars Come from Ireland, inspiring the imagery of the green stars in churning water.


This postcard from 1988 was also based on a dream: on my first visit to British Columbia; although I didn't see any whales on my ferry trip from Vancouver to Victoria, my mind really wanted to! I remember wanting a durable backing for the card to make it from BC to Toronto, so I made do with a piece of cardboard from a cereal box.


Other cards have also been inspired by travel. This card was inspired by my visit to Sicily in 1997 where I saw some Greek ruins at Segesta.


Quite often I simply make cards from what is in front of me. In this case I simply reproduced the image of my avocado houseplant. I used some patterned green wrapping paper that I had saved in my re-use paper file.


Likewise, this get well card, made for my daughter in 2008. simplified the fish tank in her bedroom.


I am often lazy with images too, simply using egg shapes for Easter (as above), shamrock shapes for St Patrick's Day, and hearts for Valentine's Day...


Often I reuse images in the same year, if I am obsessively working on a project. In 2015-2016 I was hard at work on The Skipping Project (I refer to it here, here, here, and here), a multi-media project that was to be my MA thesis project (for personal reasons the project was never finished). I used the child's feet skipping rope in a number of cards. The rope in this card was made from a collage tape I made (using double-sided tape) from chocolate wrapper foil.


I used the skipping image again for Paddy's Day, though I replaced the shoes with traditional dancing hornpipes and drew the rope in as shamrocks.


Wednesday 8 April 2020

easy peasy delicious bean patties

I had a hankering to make some simple bean burgers, but was told they tasted very similar to falafels, so I am calling them "patties". I tried to keep an eye on actual amounts, since I planned to write down this recipe for future use (if it worked, and it did produce something tasty - which it did!) but my measurements are always approximate. Here is a list of ingredients:

prepared kidney beans (equivalent to approx 1.5-2 drained cans), 2 tblsp olive oil, 1 onion, 1 egg, 1/3 tube of tomato paste (or 1 little tin if that is the way it is sold in your country), 125 g bread crumbs, 100 g oats, 2 tsp mixed spices (I happened to have this Smoky Brae rub of mixed spices that included cumin, dried garlic, chilli flakes, and other things, but you may just prefer to add a clove of fresh garlic and some salt & pepper - to your own taste!)


I use dried kidney beans, so I soak them the night before and boil them up the next day. I have started adding a bay leaf to the pot as they are boiling. 


I whizzed the beans in a food processor with the oil (necessary to keep the processor working) then added everything together in a big bowl


and mixed it up thoroughly.


Form into patties, like you would burgers and place on oiled cookie sheets.


Bake at 190C about 15 mins, then flip and bake for another 15 mins. They are a bit dry on their own, but either treat as a burger (with toppings) or eat with sweet chilli sauce, mango chutney or raita (or anything you like) as you would a falafel. Very nutritious and delicious! They freeze just like any meat burger and are great on the bbq.


Wednesday 1 April 2020

Preparations for new work!

In addition to the work that I'll be doing for Precariat Press (details here and here) and the writing during the annual NaPoWriMo beginning tomorrow, I am also getting ready to embark on further work for the series Memory Is My Homeland (details of other work in this series here, here, here and here). I primed some small canvases last year, stretching them on wood, which have just been patiently waiting for my return to them.


As with most of my work where the surface has been primed, I always put a ground coat of quinacridone violet over the entire surface, before I begin the painting or drawing. I have plans for both these small formats, likely to be completed with oilstick & graphite.


Before I could prepare for another large piece (Knockeen - my second home in Kerry - is taking shape in my head) I had to take down Kingswood. It was interesting to see the reverse side of the pressed cloth painting, where the "watermark" is more apparent. This is actually the front side, had I used it for its true purpose, a roller blind, but this design would have repelled the paint too much.


I needed a bit of help to affix the large piec of pressed cloth to the wood beam on the wall.


I decided to cut the piece from the roll, weighing it down a bit with another beam of wood. Almost ready to begin!