Showing posts with label glazing techniques. Show all posts

Wednesday, 19 August 2020

life during lockdown Part 3

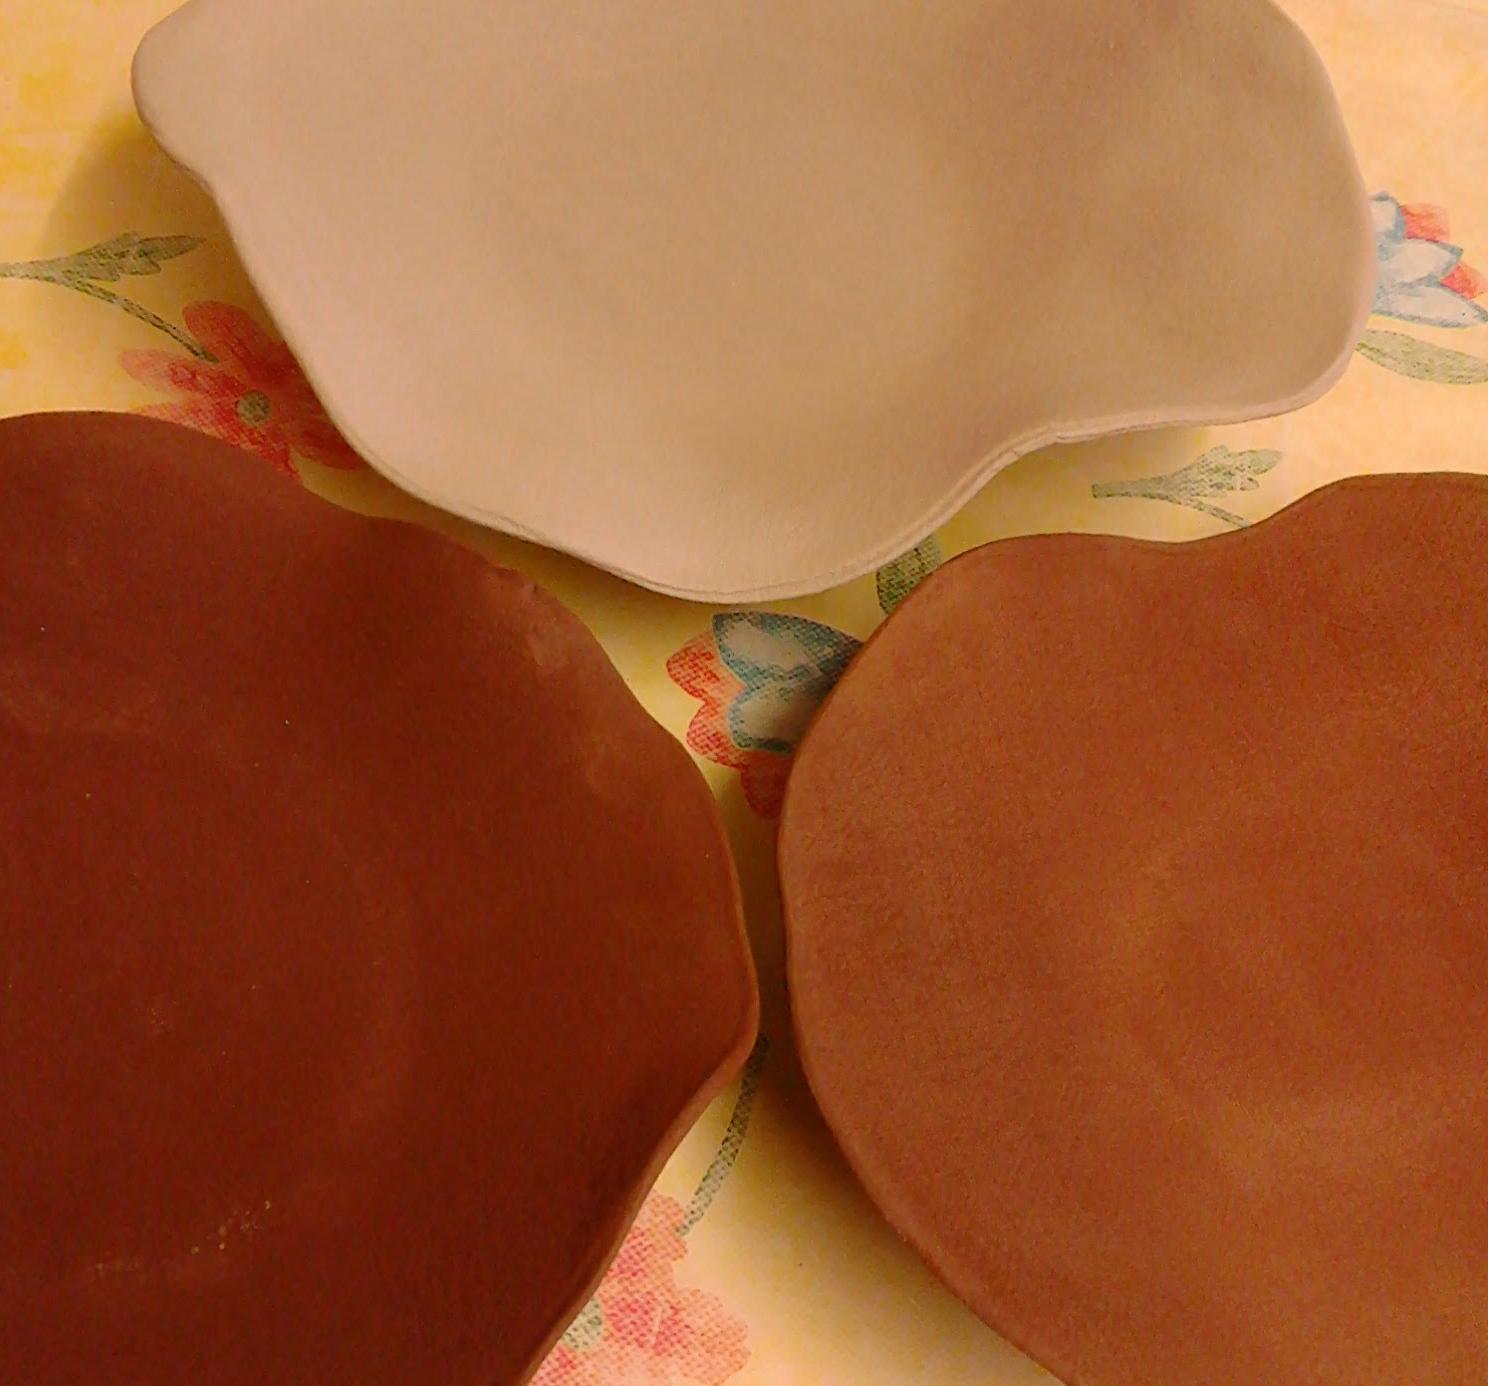
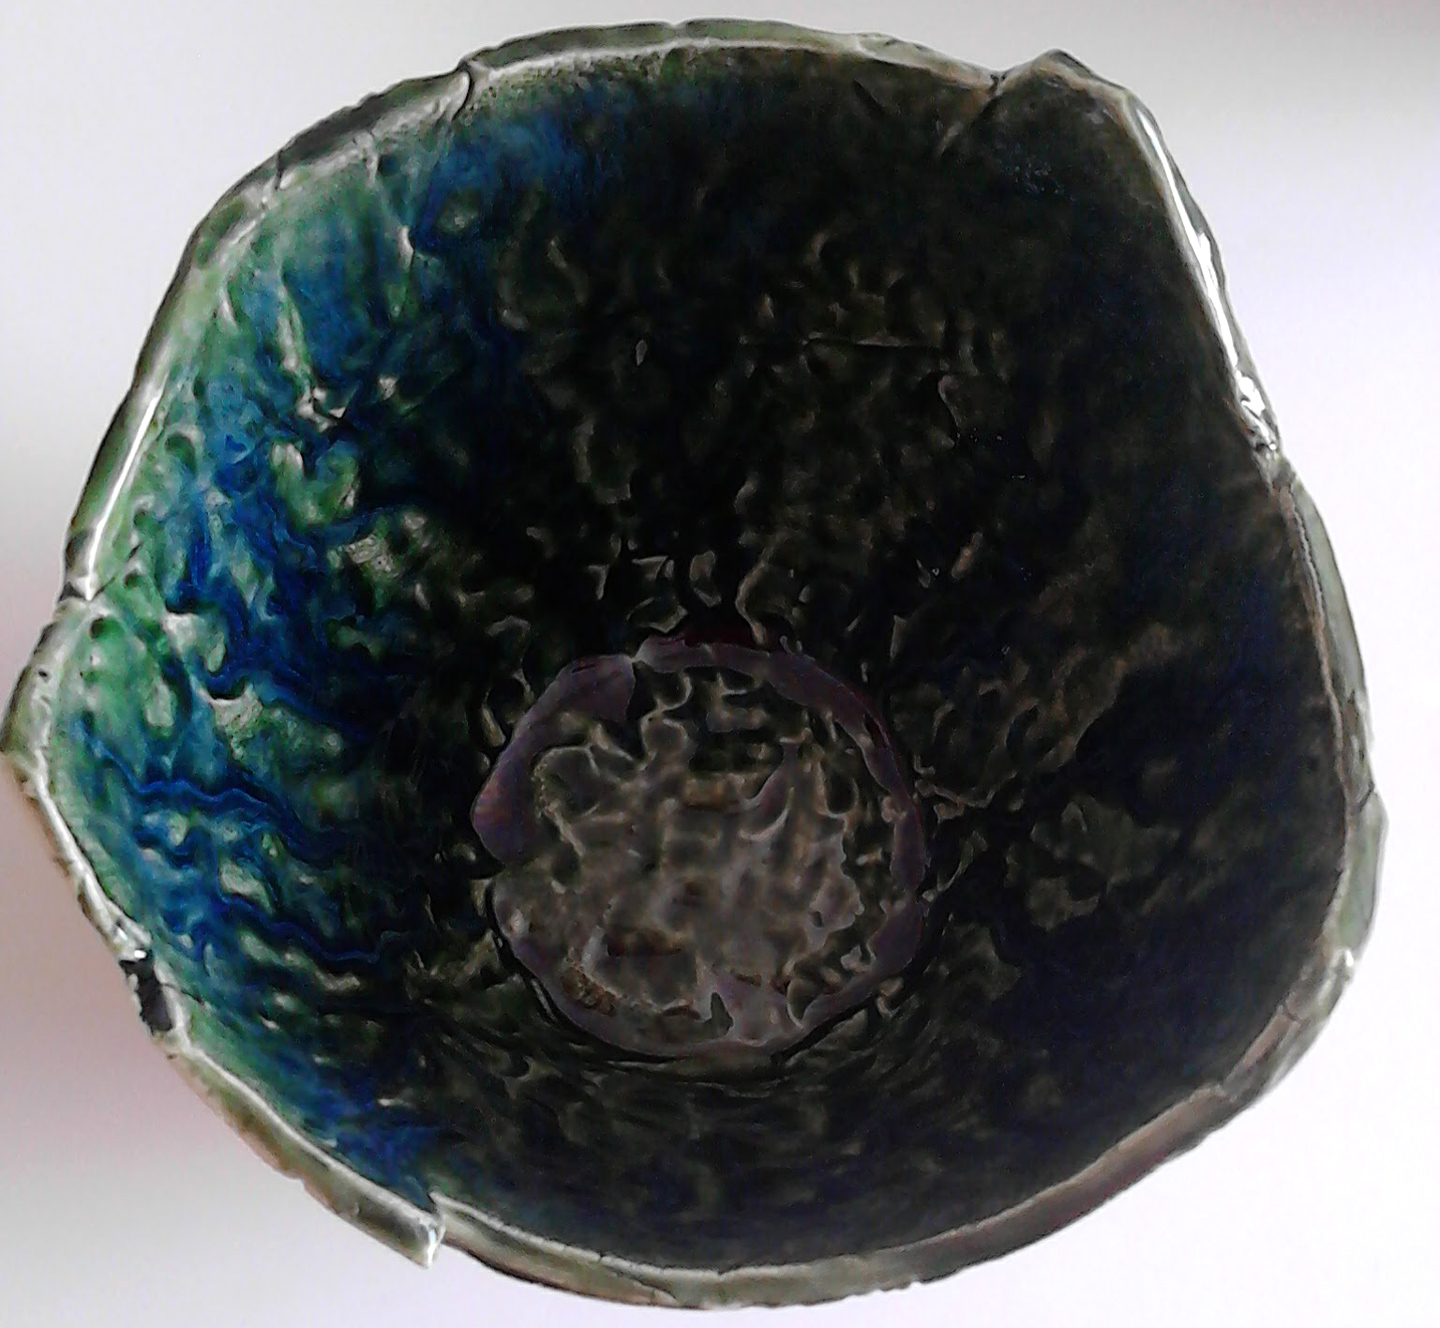
In July my final ceramic work was fired. For now, I am not continuing with the workshops, which have actually started up again at this point (with only two participants per class). I was pleased with this terracotta draped slab serving dish, which I had glazed with a metallic gold.


By the end of July I had finished printing the covers for my first chapbook, Home Sweet Home Goodbye. For further information on this project, you can look at previous blog posts here, here and here.


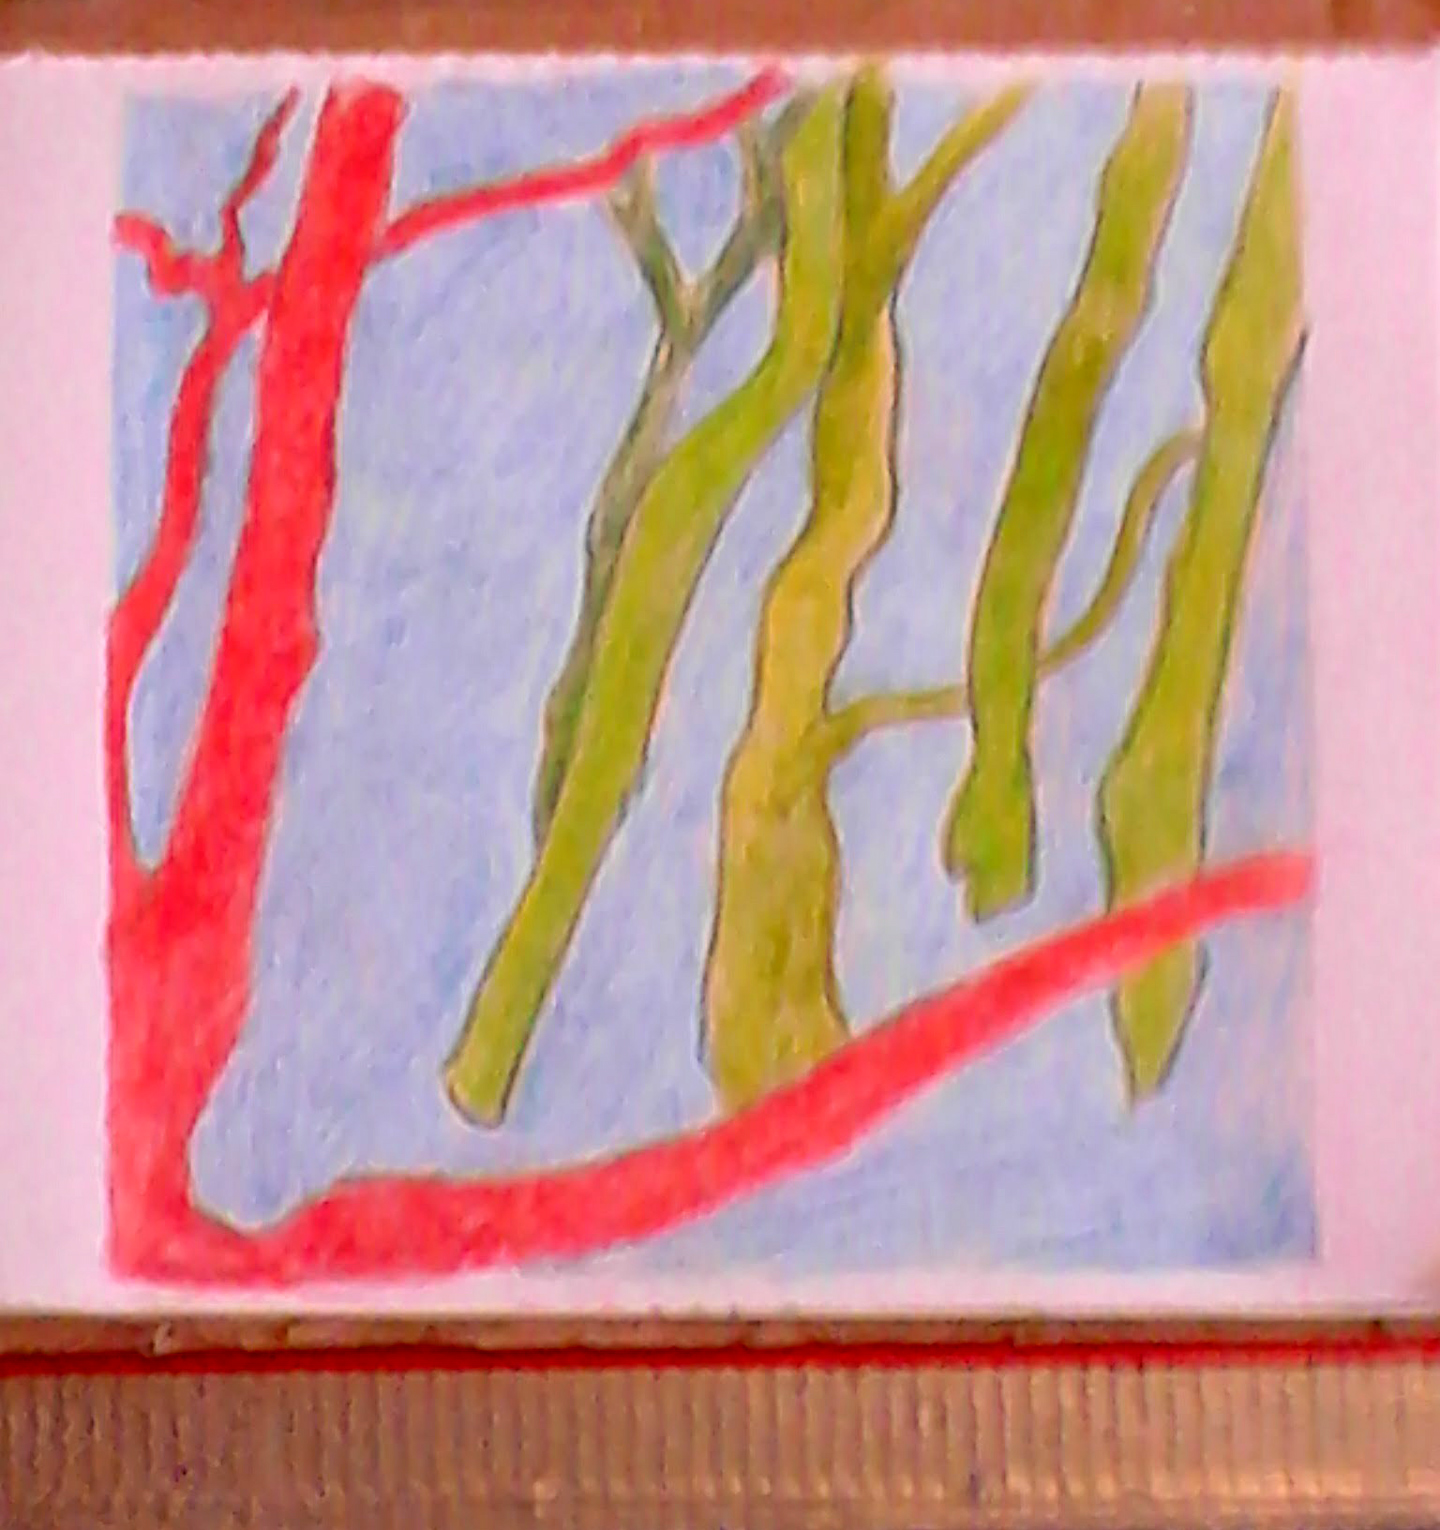
In July I responded to a call-out for artists who were interested in "perception, scale, reflective practice" and had a sense of humour. An artist/designer (Lisa Cole) in Bristol was opening a gallery for work, which would fit through her letterbox; the gallery was a well-lit, painted cardboard box manned by tiny plastic cats. My exhibition proposal was accepted and my work will be showcased on instagram for one week this month. I realised later that I sent too much work, so not all of the pieces will be included in the exhibition, but further details can be seen here and in the Tiny Cat Gallery shop, here


When I got wind of a Zoom felting workshop sponsored by Craft Northern Ireland and University of Atypical, I signed up to be included right away (as spaces were limited). There were going to be four workshops, facilitated by felter/artist Niki Collier, and they would take place every Friday morning in August. Availability to attend all four workshops was stipulated on the application form - well under lockdown I had no previous engagements! I was very excited when the big package of supplies arrived at the end of July.


Although I got my very last (for the foreseeable future) ceramics from the kiln by the end of July, I did not have time till recently, to finish off the glazing effect (crackle white glaze) by painting India ink on it.


While I was painting the final plate, I decided to re-paint the one I had done in June just to see if the crackles would be a bit darker (they were).


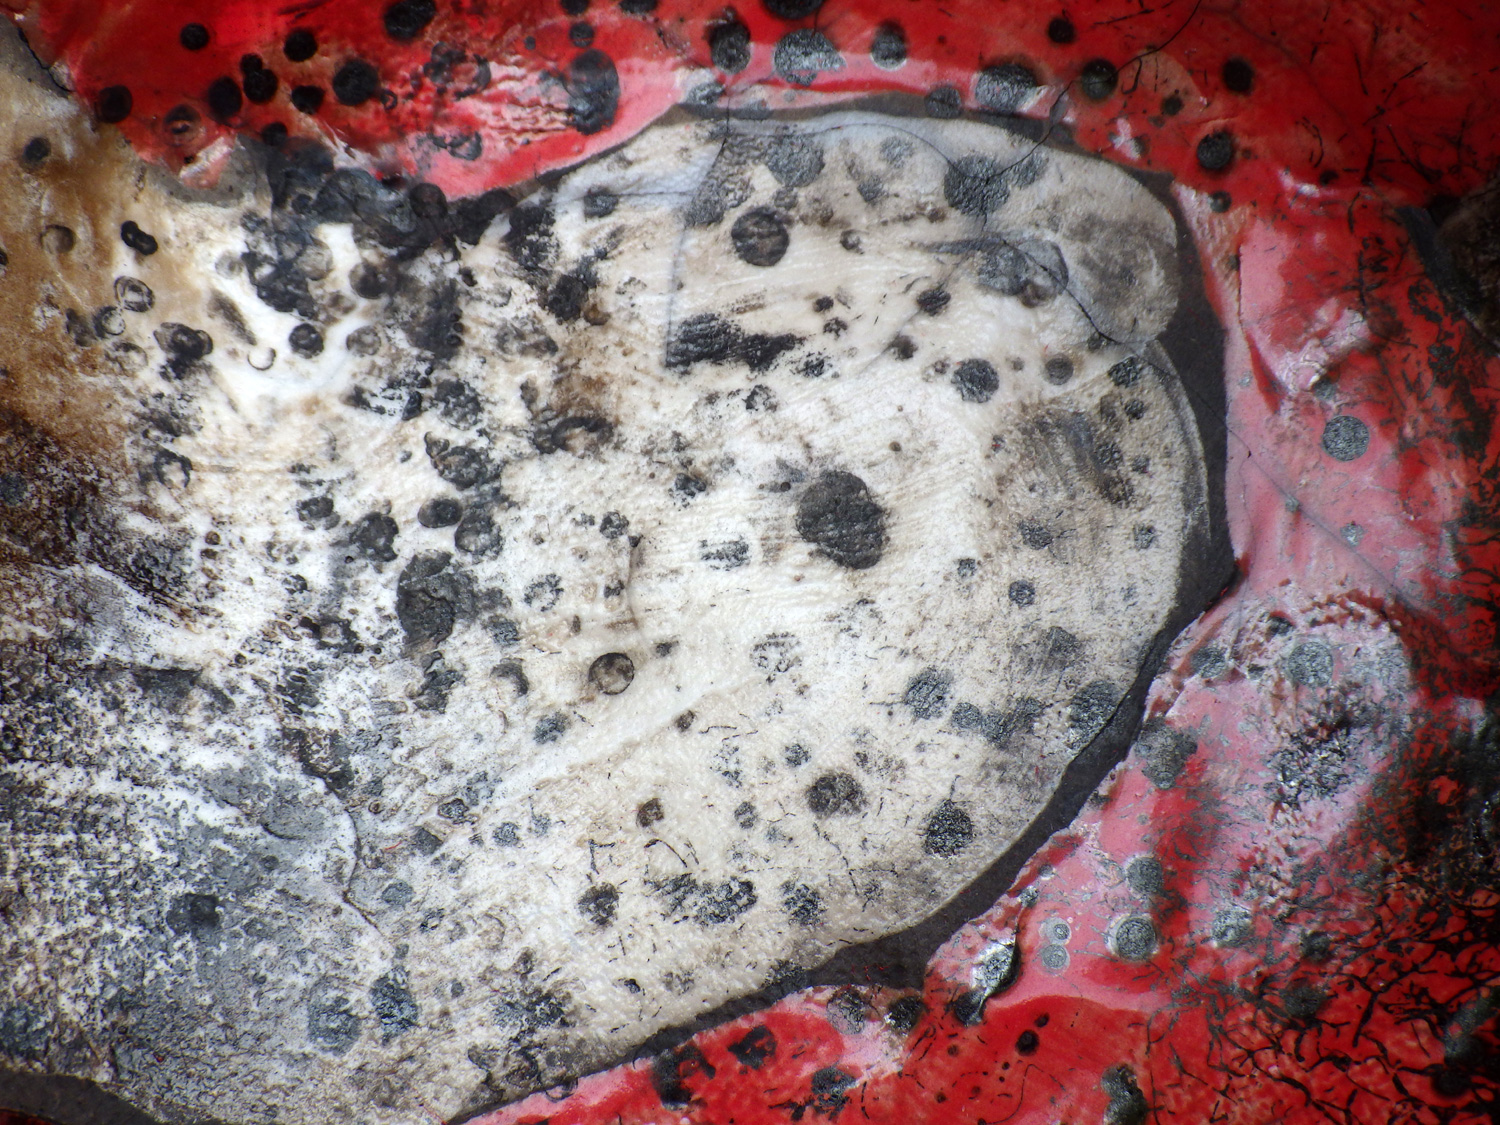
This is a close-up detail of the final plate done with this glazing technique. For further information on the process, I have previously blogged about it here.


Wednesday, 12 February 2020

Shamrock bowls - revamped!

In 2018 I made two foliage bowls, which I was really happy with from a beautiful results point of view, but realised that I put such a huge amount of effort into their making that I wanted them to remain unique, for my own use only. Last autumn I wondered if there was a way for me to create several similar bowls that I would be happy to sell at a reasonable price. I decided that I would make the bowls using one plant and that I would make them without "feet" thereby removing the necessity to take them home in order to complete. Details of making the fern and wild rose leaf foliage bowls are here and images of those finished bowls are here. I had a pot of shamrock in bloom, so I brought it into the ceramics workshop and cut sprigs from it for my design.


I was using plastic pudding bowls (I had 3 different sizes) as formers. Each bowl need a cling-film lining and then I swirled long sprigs of shamrock inside the bowls.


The clay was wedged and rolled out into a a large slab, from which I cut random pieces, which were fitted together as I worked.


I used my fingers to press the pieces together, letting the finger dents remain as part of the interior bowl form.


From the outside, one can see how the shamrock has been embedded into the clay from the pressure of joining the pieces. The cling-film creases will also add to the final design, apparent in the glazing process.


Here are the five bowls posing with the shamrock. Normally they need to be leather-hard dry before removal from the bowls, but since I was not adding feet to the bowls I could leave them until they were totally dry and ready for firing.


I glazed all the shamrock bowls with a food-safe green, wiping the glaze on the exterior in order to allow the glaze to only be in the plant and crease areas. I liked the way the glaze worked on the interior, accentuating the finger marks, however, I thought it was a bit too pale on the outside. I did submit them to the craft fair (more pictures can be seen here) but when they returned to me, I took the opportunity to make them better bowls.


For each of the five bowls I made feet that I thought were an aesthetic improvement. I knew that once they were fired some glaze could be used as a glue and the bowls could be re-fired with their feet.


I also took the opportunity to use a darker glaze on the exterior, with not such aggressive wiping in order that the creases were more apparent as well as a stronger appearance of the shamrock. For the deeper bowls I made tall feet.


For the two shorter bowls I made feet rings that were appropriately shallow. I am quite pleased with the results.


Wednesday, 29 January 2020

Draped slab ceramic serving dishes

In the late autumn last year I started making some draped slab serving dishes. My intention was to make them quickly and sell them at the xmas craft in December. Of course, things always take a bit longer than I expect, but they worked out fine. I had two formers, one of wood and the other of plaster, bowl-shaped and I overturned them in order to simply drape a slab over them, with a cling-film layer between the clay and the former.


I've been doing a new style of foot lately, in two pieces - two arcs making dishes "float" above a table surface.


I never took photos of how I attached the feet to the 2019 dishes, but I did for recent ones (note the date). After deciding where the clay arcs would be placed and tracing their outlines, the areas would be scored and slipped.


The feet are also scored and slipped, and after affixing to the dish, I lightly paddle them down (with a wooden paddle) in order to ensure that there is no air between the dish and the foot. This is usually apparent when some slip oozes from the joint.


Dried and ready for the first firing, here are two terracotta and one white buff draped slab serving dishes.


After bisque firing the pots are ready to glaze. I decided to glaze the underside of the dishes so the texture when handling wouldn't feel abrasive.


Though this may look like only one glaze, there are actually three different glazes on the terracotta dishes: a base layer of cobalt blue with splashes of two runny glazes (aquamarine and sea green).


I had already witnessed these colours interacting in a lovely way, and was not disappointed.


Both dishes were bought within two days of being for sale, so again I was pleased.


While I made a draped slab dish from white buffclay, I later made two smaller dishes from grey buff. I decided, since I was including them in the xmas fair that I would glaze paint a holly design on them.


I forgot to take pictures of the finished grey dishes before they sold, but they had a white glaze underneath the holly. The white buff dish simply has a clear glaze underneath the holly design. This dish is larger than the grey ones and I'll see it again on my Christmas table setting!


Wednesday, 10 July 2019

raku bowl decoration

The end of June raku event was a lot of fun and exciting. If you didn't see the post last week, you can check it out here. I focussed more on the process in that post, but now I will discuss the two bowls I made specifically with raku in mind. Both bowls are handbuilt in low-fire white clay. You can see the herringbone pattern left on the clay from the tea towel on which I rolled it. I like this effect (some tea towels have deeper patterns than others). On this, the larger bowl of my two, I pre-glazed areas in red and white and left other areas that I expected to go black in the "smoker". The black pattern on this was created with a feather, but I was disappointed that the "smoker" did not do its job - the lower area of the bowl should have been black.


On the inside of the bowl I threw large clumps of my offspring's thick, straight hair. I also threw sugar, which burned and created the black spots. There was some crackling in the glaze that allowed some dark lines from the bowl's time in the "smoker".


After a light scour with water and a scouring pad, the applied textures (sugar and hair) look more satisfying.


On the suggestion of another woman at the raku event, I painted on some India ink to areas that I wanted blacker. I was much happier with these results and it also made some of the crackling lines in the glazes more apparent.


The smaller bowl had been pre-glazed with red, white, yellow, and clear areas of glaze, again leaving large areas that I expected to turn black in the "smoker".


After I painted some India ink in areas that I wanted to be black, I was happier with the contrasts in the bowl's decoration.


I used hair that I had been collecting from my hairbrush before the event in order to get these fine and squiggly lines. I had tried a few other techniques on this bowl (a mini "smoker" using pine needles, dried lavender) but they did not produce any results. The point of raku is to be open to experimentation and chance, but if the results can be altered by India ink (or anything else!) I am quite open to that too!


Wednesday, 20 February 2019

More ceramics - working on the wheel!

With the new year, I decided to try throwing some pots on the wheel. I have certainly been out of practise, not really doing any wheel work for about 30 years! My wrists don't seem to have a lot of strength these days, so centring the clay and coning was more difficult than I remembered.


The two dishes I made, though small, could easily have the function of peanut dishes. While the clay was still very soft after I removed it from the wheel, I re-formed one of the dishes to make it a tad more interesting.


I decided that I would use the same glazing techniques for both dishes. For the inside I painted a solid black glaze that is food-friendly and that I have used before on ceramic pieces (knowing that it fires with a bluish tint). On the outside I used a mix of black and a royal blue glaze that I then sponged off. After this was dry, I painted three different glazes, but only close to the exterior rim as these glazes have a tendency to run when in the kiln. Below are the two dishes after glazing, before firing.


I was very pleased with the results! The exterior glazes did not drip too much, and blended together pleasingly. The interior glaze looks more of a midnight blue than black, and I like it a lot!


I especially like the way the wonky peanut dish fired and look forward to using it the next time I have guests.


Wednesday, 13 February 2019

2019 ceramics workshop - one month in!

Last December I did some sketches of tree and stone imagery that I thought would be nice glaze-painted on tiles. When the ceramics workshop resumed in the new year, I was ready to do four small glaze paintings on ceramic tiles.


 When I was doing the "liminal" sketches of stones on the shore, I made the forms and colouring more complex than the more basic stick images.


With this in mind, I decided to paint the tree tiles first. Even here, I overlapped a few glazes anyway (reds & oranges, blues & greens) to see what would happen.


I was pleased enough with the results. I always lean towards Fauvism when I think of trees and colour at least one of them red.


Glaze painting is always a pleasant surprise as it is impossible to know how the pre-fired glazes will react with each other when fired. There is a certain amount of looseness when painting with glaze on a tile, but its exact colouring can never really be pinpointed.


The trees tiles were put away when I was painting the stones and I decided, in keeping with the sketches, to make the forms more complex. I did take pictures of the tiles before they were fired, but deleted them by mistake. I took especial care over the sand areas, as I did not want them to appear too solid. I glazed first with a bright orange and then, after the orange glaze had dried, took a smaller brush and dotted a bright yellow glaze overtop.


I am very pleased with the colouring and randomness of the glazes.


Wednesday, 1 August 2018

Foliage bowls - Part 2

I was ecstatic when my two foliage bowls came out of their final firing in the way I had hoped! With ceramics there is always the chance for something to go not-as-planned, so one has to leave expectations at the workshop door and accept concepts of happy (or otherwise) accidents and random results.


My intention when glazing these bowls was that a green glaze, painted on then wiped off again, would fill the design crevices. And indeed, this worked! Some of the crevices were deeper than others (the stems) caused by me pressing the soft clay into the foliage when creating the bowls in their formers. See my previous post here for details.


Another participant in the workshop has been getting beautiful results with several glazes mixing and running into each other when heated. Although there is the risk of the glazes running too much and a pot sticking to the kiln shelf when these glazes are used on the exterior of a pot, I was hoping that there would be no trouble if the glazes were used on the inside of the bowls. There were three glazes painted on the bowl interior: a base colour of green and then more random painting strokes of a particular blue and another green.


The extra swirling effect is caused by initial pressing of the clay when creating the bowls. It is the wild rose leaf bowl interior above and the fern bowl interior below.


The ferns presented a completely different pattern than the wild rose leaves, but again, there is lighter and darker lines reflecting the depth of the crevices which held the glaze. In each bowl there is also a subtle glaze under-pattern caused by the wrinkles in the cling film from the initial forming of the bowls.