Wednesday, 15 February 2017

Valentine's Day

I have been making occasion cards since I was a child as they were always class art projects -- something to do for our parents -- by teachers who were not artists and had to come up with something to keep kids occupied! I continue the practice, however, enjoying hoarding bits of interesting paper, and then as an occasion comes up seeing how I can vary the annual theme. Since I have recently photographed all the cards from my Mum's archive, that she has kept over the years, I can easily compare them. Here is a sample of Valentine's Day cards I made for my Mum, starting with this one from 2002, using bits of wrapping paper and coloured construction paper as a base.


This one is from 2008, the base card being white corrugated cardboard and the hearts and other elements are made of a spongey material with an adhesive backing. 


This card from 2010 uses white card stock as a base, some wrapping paper scraps, and various coloured paper scraps. I also made use of a silver pen!


I used some heavy green card stock for the base of this 2013 card, The white paper with white and gold bits threaded through it is specialised wrapping paper. The red heart is a bit of an envelope I think, and the red background is simple coloured photocopy stock.


The card for 2016 made use of red card stock as a base, and several bits of coloured paper scraps to make the hearts. Goes to show how one symbol, a heart, can be used repeatedly to create a different card. There were many more variations in the archive, but I thought these provided a good example.


Wednesday, 8 February 2017

Preparations for work

I have been doing a lot of administration and organisation this past week. The administration has involved preparing proposals for various upcoming opportunities. This does involve a lot of work sitting at the computer, but it also affords me the headspace to clarify my ideas. I am looking forward then to creating new paintings, prints and books in the (hopefully) near future. With this in mind I am also trying to clean up and organise my studio. This sketch I did on National Drawing Day a few years ago used a corner of my studio as subject. If only the studio looked that tidy! I think at the time I was in the middle of working on a painting, so even though it looks a little chaotic, that is simply one corner. At the moment the entire studio looks chaotic and it would be completely impossible to work on anything. I am slowly making some headway though, proof being that I have filled 6 bags with shredded paper, have recycled and thrown out quite a lot of things. Still more to go.


Planning a holiday is always something to bring my spirits around. Last week I won a break to Edinburgh from a radio station that I listen to and yesterday I filled out all the required paperwork for the promoters, choosing my preferred dates to take the break. Something else to look forward to!


Wednesday, 1 February 2017

Xmas is definitely over!

As promised, I finished decorating my husband's xmas stocking before I really said goodbye to the season. I finished the stocking at the end of last week, and today gathered up all the last bits of wrapping paper and decorations in one place so that they can be put away with the rest of the decorations and not thought of again until the end of November.


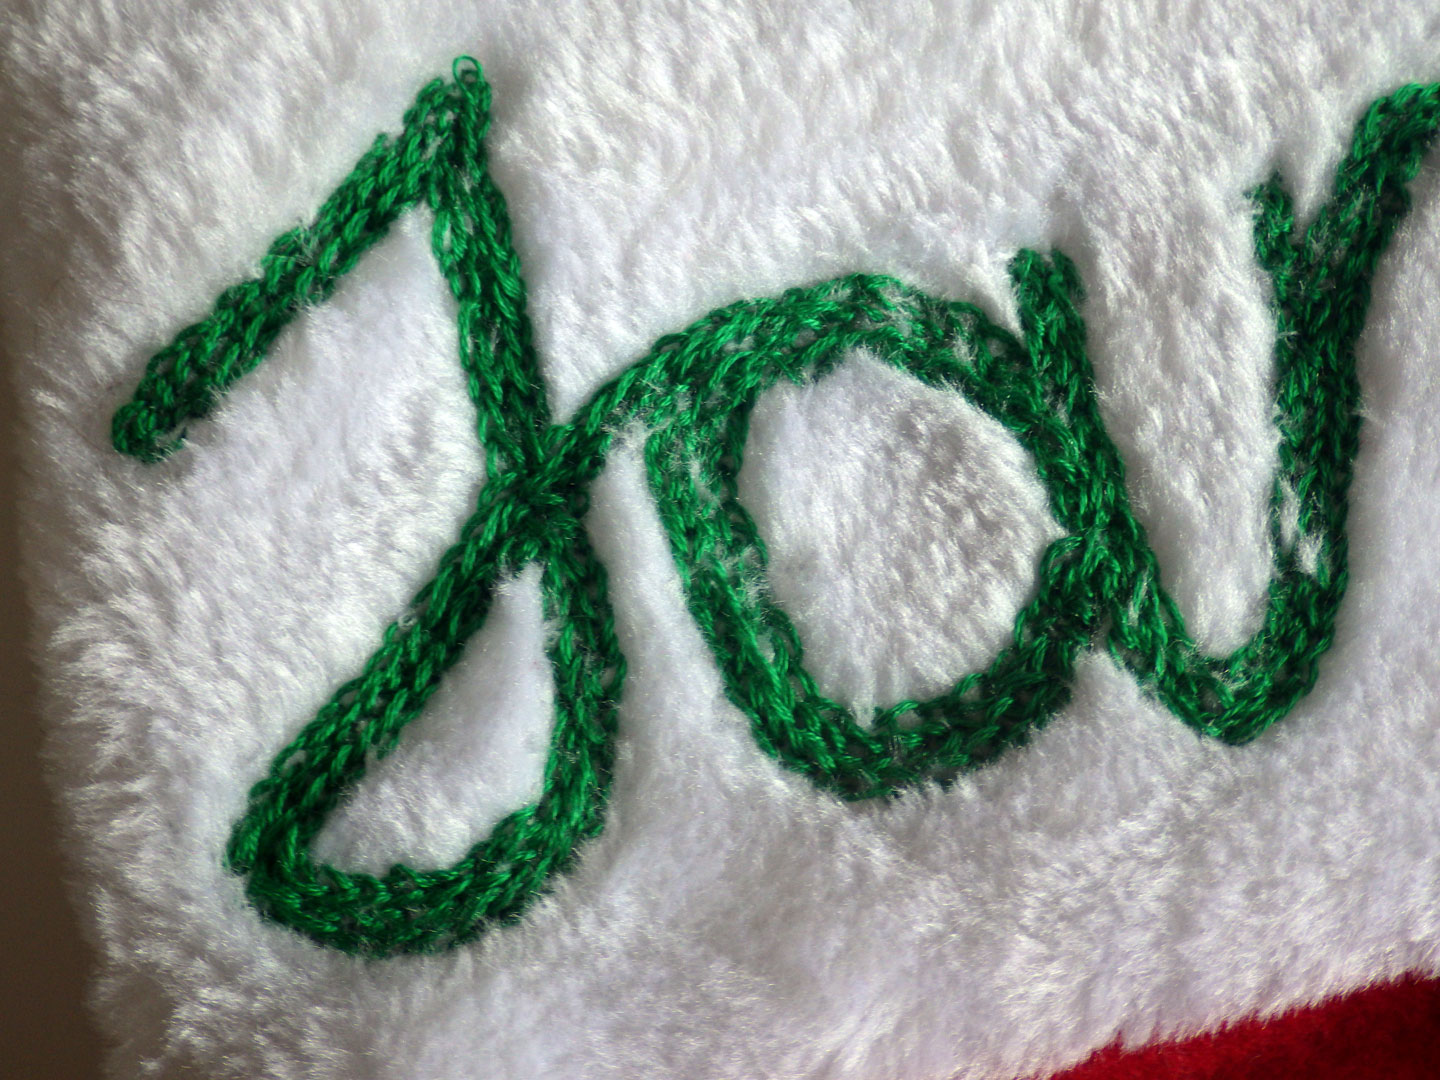
I embroidered the letters of my husband's name in chain stitch on one side and used satin stitch for the holly leaves. The picture below shows a side seam where I put liberty bells (the same on the other side seam).

I was thrilled to find the red berry bells, which are quite jangly, especially as the liberty bells are soundless! There were plenty of berry bells so I sewed them on the top of the stocking trim. My husband was quite delighted with the result, as am I.


Wednesday, 25 January 2017

Cole slaw

While shopping the other day, my eye was drawn to the beautiful heads of purple cabbage and I could not resist picking one up. My daughter adores the cole slaw I make based on a recipe in my ancient Chatelaine recipe booklet from Canada. I think the booklet is from the '60s - the pages are really yellow and most of the recipes are pretty dated. However, the lemon meringue pie recipe is fabulous and with a slight change I have turned it into coconut cream pie on occasion; in addition, the basic custard recipe used is easy and far superior to any powdered or ready-made custard I have ever  tasted. 

But I digress, what I am interested in today is the Everlasting Slaw recipe in the booklet. Tried and true - as soon as my daughter saw the purple cabbage she was delighted as she knew what I had in mind. My husband is allergic to carrots, and none of us like the typical Irish cole slaw, which is heavy on the mayonnaise. So a variation of the Chatelaine cole slaw is more to our liking. Delicious! Here is what I use: 1 head of purple cabbage, chopped; 2 purple onions, chopped; 1 tsp dried mustard; 1/2 tsp salt; 1/2 cup sunflower oil, 1/2 cup brown sugar; 1/2 cup malt vinegar.


Stirring, bring the vinegar, oil, sugar, mustard and salt to a boil. Let cool.


While the wet mix is cooling, chop up the cabbage and onions and add to a large mixing bowl. Pour the wet mixture over the vegetables and stir in completely. You will notice the fresh colour of the vegetables taking on a brownish appearance from the wet mix. Cover and leave for at least 8 hours before eating. This makes quite a lot of cole slaw (I used 3 1/2 x 1 kilo peanut butter pails!). Put in covered containers and store in the fridge. It actually tastes better with each day. Supposedly it lasts more than a week but it has never lasted more than a few days in my house (I only made it yesterday and 1 1/2 kilos are already gone, between 3 people!). Enjoy!


Wednesday, 18 January 2017

Before xmas season ends...

In early December 2015 I picked up a much-needed new stocking for my husband, planning to personalise it for the big night of hanging and filling. December, however, is always a busy month and I never had a chance to decorate it. When the decorations got put away in early January 2016, so did the stocking. So it wasn't really a surprise to find the impersonal stocking with the onset of xmas preparations at the end of last November. Once again, December was just too busy to personalise the stocking, but I promised that it would take priority in the new year and would not be hidden away until it had something personal on it. With that promise in mind, I headed to the notions shop where there was even a sale on xmas stuff - so I picked up red berry bells (ah - jingly holly berries!), some tiny liberty bells and a few skeins of green embroidery thread.


The fuzzy faux fur at the top of the stocking made it difficult to draw out the name first, so I just had to wing it. I haven't finished the last two letters, so I think the "e" will appear a bit closer to the "m" when I am finished. I plan to put 3 liberty bells down each side of white trim, and embroider holly leaves with bell berries on the other side of the white trim.


Generally I am embroidering 3 rows of chain stitch to give thickness to each letter, but the faux fur sometimes finds its way in between threads and opens the space up. This is just part of the material, I am letting it have its way! Hopefully I will be finished it soon and can be satisfied that next xmas won't show any tasks undone.


Wednesday, 11 January 2017

Incognito begins!

I started the small pieces for "incognito", this year's fundraiser for the Jack & Jill Foundation (supporting children and families). As I mentioned in my last week, I will not post finished pictures until after the final event a few months from now: the finished pieces will only be signed on the reverse so that buyers will not know who the artist is until after the sale. All pieces will cost the same price.

Because I wanted my paintings to be textured, I decided that, even though the cards seemed robust, it would be better if I did the paintings on canvas and then affix them to the cards when finished. I used tissue paper and pva glue to create texture.


The pieces are so tiny, it was easy to find a leftover piece of pre-primed canvas that was suitable to staple to a board. I marked out the sizes so that I can cut them when finished, After the texturing dried, I used a pin to prick any air bubbles and then painted my signature undercoat of quinacridone violet. 


Without giving too much away (especially as I don't really know what will happen when I start painting!) I can say that I have been looking at some old sketches.


These cityscapes are from 1981 sketchbooks, inspired by watching the sunrise through blinded office windows in downtown Toronto.


This sketch was inspired by a visit to Rome a few years ago.


I have a fair idea what all three pieces will be and how they will relate to each other, but this is all I will tell about the "incognito" project until the end of April, when the event will be over!

Wednesday, 4 January 2017

Incognito!

A few years ago I participated in a charitable fundraiser The Big Egg Hunt Dublin, which was a great success and also enjoyable. The Jack and Jill Foundation fundraiser for 2017 is called "incognito" and I am looking forward to starting my contribution. Before the holiday I received my incognito package, consisting of 3 small cards and an envelope with which to return them to the Foundation. Artists have been asked to create up to three small works, signed only on the back of the card, thereby being an initially unknown creator. All completed artworks will be displayed at the Solomon Gallery in Dublin in the spring, and will be for sale at a set price. The artists will remain unknown until the works are bought. I already know what I want to create on the three cards, so will get to them soon. I won't be posting finished pictures until the fundraiser is over, but I may post some teasers of work in progress. Happy New Year!